
Fotor Hair Color Changer: Keep the Cut While Testing Color
Use the Fotor hair color changer to compare shades on your existing cut. Check color spill, texture and unchanged skin before saving a preview.
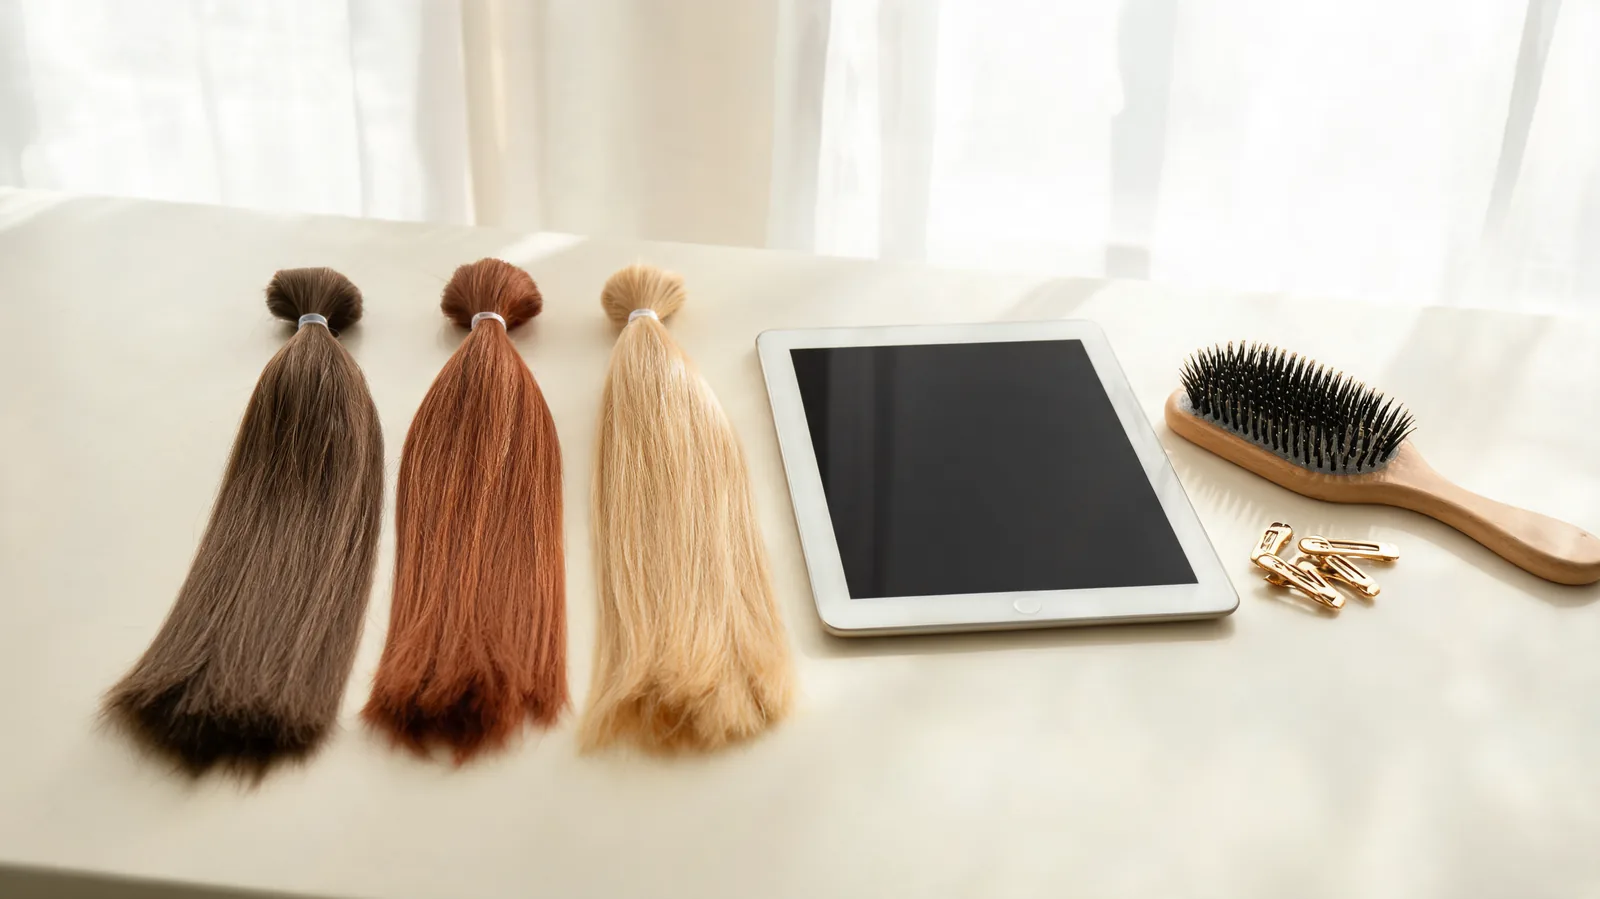
Use the Fotor hair color changer to test a shade on your existing haircut: upload a clear portrait, choose one color and compare the result with the untouched original. Check the hairline, skin and ends before saving. An AI hairstyle changer can provide another preview, but keep the cut fixed in both.
Last updated: October 8, 2026 · about 7 min read
How do you use Fotor for a color-only preview?
Start with Fotor's dedicated hair color changer. Its public instructions describe uploading a portrait, selecting a shade, applying the edit and downloading the result. They list familiar color families and custom shades. Follow the options actually shown in your session; labels and access conditions can change.
- Choose one source portrait. Keep an untouched copy. Include the whole haircut, with enough space around the sides and ends to inspect its shape. A photo cropped at the shoulders can hide changes to longer hair.
- Select one shade, leaving the hairstyle alone. Begin with a clear direction such as neutral brown or copper. Avoid combining a color request with a new fringe, length or curl pattern. If the interface asks for a description, name the color and say which existing details should stay.
- Review the edit before downloading. Compare the outline, part and texture first, then inspect the color. Save the file only when the image still answers your original question. Open the downloaded version too, since that is the reference you will keep or share.
This is a workflow guide based on public product documentation, not a report of a paid hands-on test. The hero is an editorial illustration, not a Fotor result. AIChangeHair publishes this guide and offers its own photo-preview tools.
What should stay the same when only the color changes?
A useful color comparison preserves the starting haircut. If an edit makes your waves smoother or your bob shorter, you may prefer the styling rather than the shade. Put the original and preview beside each other at the same size, and check recognizable landmarks: the ends near your shoulders, the part, the fringe and the hair around each ear.
Describe the boundary before you edit: “Change my hair to a neutral medium brown. Keep the existing length, part, texture and volume. Keep my face, skin and background unchanged.” This is an example of a restrained request, not a guarantee that any editor will follow it perfectly. Use it only where written instructions are available.
| Decision | Keep fixed | Change in this round |
|---|---|---|
| Warm or cool brown? | Cut, photo and depth of color | Undertone |
| Darker or lighter? | Cut, photo and color family | Lightness |
| Copper or brown? | Cut, photo and approximate lightness | Color family |
| Would highlights work? | Cut and source photo | Placement in a separate experiment |
The AI hair color changer offers color presets and a custom HEX option for another still-photo comparison. A HEX value describes a digital color; it does not identify a dye formula or ensure an exact match on hair.
Which photo makes color easier to compare?
Use even lighting with a clear separation between hair and background. Strong orange room light can make every option feel warmer. A blue screen reflection can pull a brown shade cooler. Neither tells you how a new color will look under ordinary conditions.
Keep your starting photo free of beauty filters and broad color adjustments. These may already change your complexion or the original hair shade. If you cannot recover an unedited version, take a new picture rather than using an uncertain baseline.
Wear a plain top if you can, and move hair away from anything that hides its edges. You do not need salon lighting or a special camera. You need a photo in which the color, shape and surrounding skin are easy to compare.
A second photo in different light can be useful, but make a separate comparison within that photo. Compare brown and copper on the daylight portrait, then brown and copper on the indoor portrait. Comparing a daylight brown image with an indoor copper image adds lighting to the decision.
How do you catch color spill and texture changes?
Look at the whole portrait first, then enlarge the edges. A result can look convincing at phone size while leaving a tinted ear or painted-looking fringe. Conversely, a tiny imperfection on one stray hair may matter less than a changed haircut.
| Inspect this area | Keep the preview if… | Retry or discard it if… |
|---|---|---|
| Forehead and temples | The skin matches the original | A colored halo crosses the hairline |
| Ears and cheeks | Hair remains distinct from skin | Skin takes on the new hair shade |
| Ends and shoulders | The original length remains visible | Ends disappear, extend or merge into clothes |
| Part and roots | The part stays in the same place | The edit invents a new hairline |
| Highlight and shadow | Strands retain visible depth | Hair becomes a flat block of color |
| Background | Objects and tones remain stable | The room changes color with the hair |
Check eyebrows as well. You may eventually want a coordinated brow look, but it is a separate choice. If the editor changes them automatically, note that difference rather than treating the portrait as a pure hair-color comparison.
Reject a preview that changes your complexion to make the shade work. You are comparing hair colors on your face, so the face needs to remain a stable reference.
For a warm direction, the copper hair color changer gives you a focused starting point. If lightness is the question, a blonde hair color changer can help explore that direction. Make each comparison from the same original.
Why does a shade sometimes look wrong?
First identify what changed. A color that seems too orange may be too saturated, too warm or simply shown under warmer light. Those are different problems. Change one factor in the next attempt rather than asking for a complete makeover.
If the tool presents only named shades, choose a nearby alternative and compare it with the same original. Do not assume a saturation slider, manual brush or root control exists just because a tutorial for another Fotor editor shows one. Fotor's virtual hair color overview describes choosing or describing a shade; your available controls determine how specific you can be.
If the haircut changes, return to the dedicated color workflow and simplify the request. If skin or background colors shift, use a clearer source photo. If several attempts still alter the face or haircut, discard those comparisons. Another tool or a colorist's physical swatches may answer the question better.
How many shades should you keep?
Keep a small set that represents an actual choice. For example, retain the original plus a neutral brown and a warmer brown at similar depth. That lets you ask whether you prefer the undertone. Adding platinum, black, pink and a new haircut at once makes the shortlist harder to interpret.
Name files by the visible direction, such as “neutral brown” and “warm brown.” Keep the original in the same folder. Before sharing, reopen each file to check that you did not accidentally save a different version or crop out the ends.
Compare on the same screen at a comfortable brightness. Screen settings can affect how a shade appears; a saved preview remains a visual reference rather than a calibrated color sample.
What should you ask a colorist after using Fotor?
Bring the original and one or two preferred previews. Explain the specific difference you like: less warmth, a darker overall impression or a softer contrast around the face. Those descriptions are more useful than asking someone to copy every pixel.
Tell the colorist about previous dye, lightening and other treatments. A picture cannot reveal that history. Ask what is achievable from your starting point, whether lightening is needed, what maintenance would involve and how the direction could be adapted to your hair.
Check Fotor's current access and download conditions before spending money. Its color page advertises free access, but this guide does not establish unlimited use, account-specific allowances or export rights. Upload only photos you have permission to use and review the service's privacy terms before submitting a portrait.
Frequently asked questions
How do I use the Fotor hair color changer?
Open Fotor's dedicated hair color page, upload a clear portrait, choose a shade and review the result before downloading. Keep the original beside the edit and check that the haircut, skin and background still match.
Can Fotor change hair color without changing the haircut?
The dedicated color workflow is intended for recoloring hair. Check every result against the original, because a generated edit can also change length, texture or the hairline. Reject a preview that makes the haircut a different variable.
Is the Fotor hair color changer free?
Fotor advertises free access on its color page. Check the conditions shown in your current session before generating or downloading; that wording does not guarantee unlimited edits or a particular export entitlement.
Can I use the preview to choose a hair dye?
Use it to describe a shade direction to a colorist, not to select a dye formula. A photo preview cannot establish your starting hair level, previous color history, required lightening or the finished salon result.
Related guides
- Try the AI hairstyle changer → — describe a focused hair edit on your own portrait.
- AI hair color changer — compare a color direction.
- Copper hair color changer — explore a warmer shade.
- Blonde hair color changer — explore a lighter direction.
- Fotor hairstyle changer: test one photo — evaluate a haircut change separately.
Ready to compare your shortlist?
Keep your current cut and one clear portrait, then preview a shade direction before discussing the practical color choices with a stylist.